

PHOTO KNOW-HOW
How to scan old photos for printing
Turn an old family photograph into a printable file with sensible scanning, gentle editing and a print size that respects the detail in the original.
By the ArtFart team · Published · 6 min read
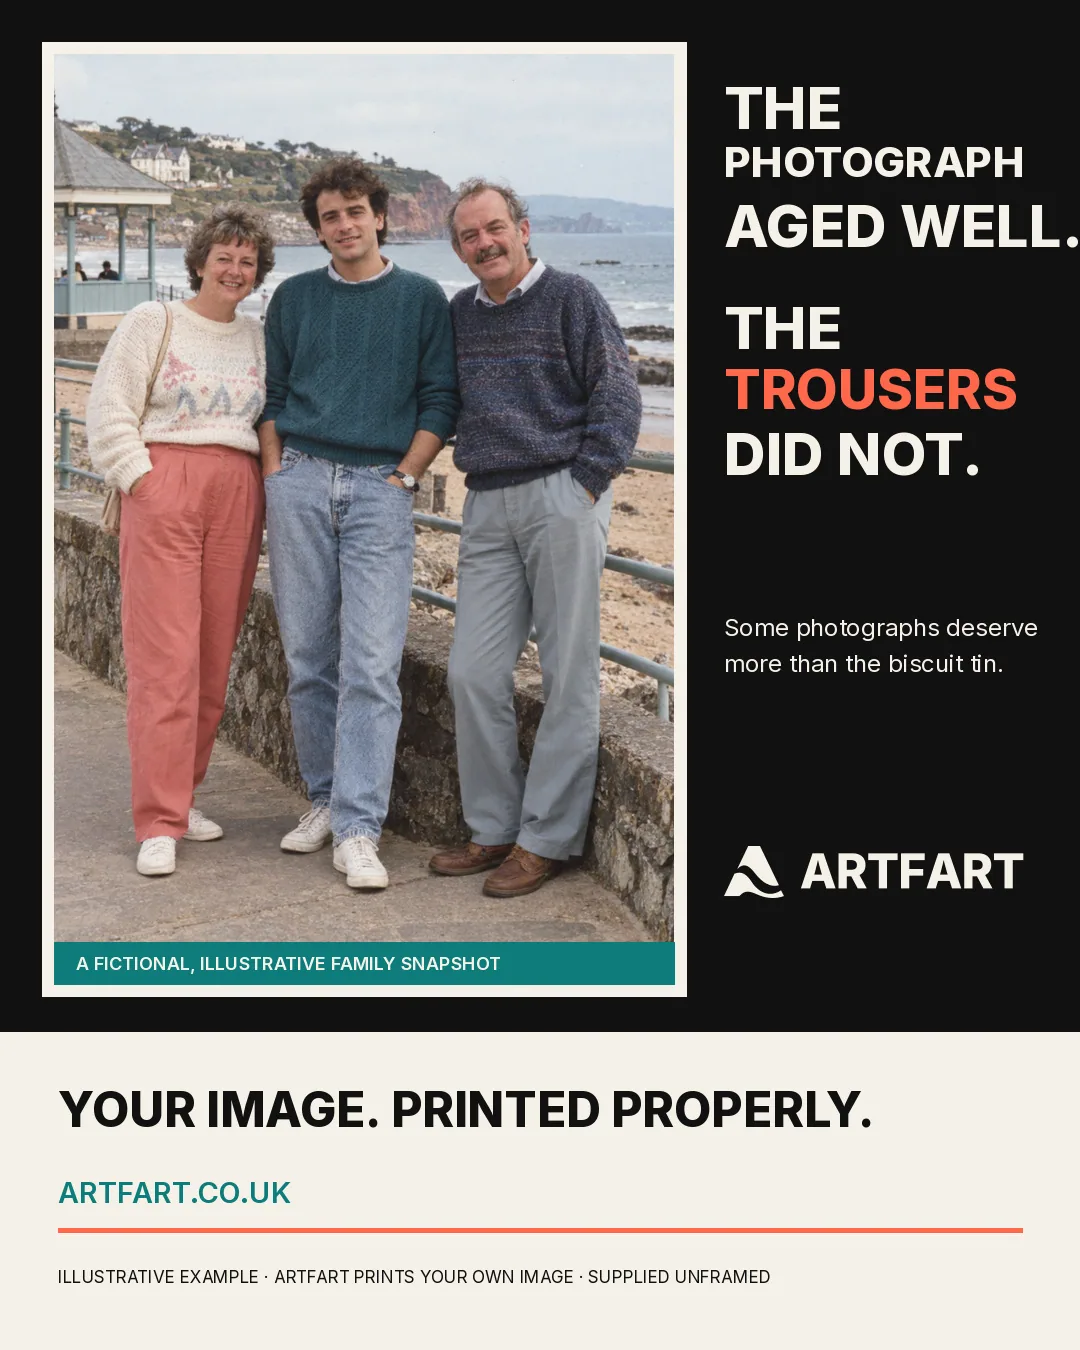
THE SHORT VERSION
Use the best source you can find, scan a photographic print in colour at around 600ppi where practical and keep an untouched master file. Make gentle corrections, check the final crop and let the usable resolution guide the print size.
Start with the best version of the photograph
Before scanning the print in front of you, check whether the original digital photograph, negative or slide still exists. An original camera file usually contains more useful information than a later social-media copy. A good scan from film may also capture more detail than scanning a small photographic print made from it.
If the only surviving version is a print, that is still a perfectly good place to begin. The scan can preserve what the print contains, including its grain, faded colour and evidence that everyone once owned the same windbreaker. It cannot recover detail that was never present in that particular copy.
Slides and negatives need suitable backlit scanning equipment or a professional film-scanning service. A normal flatbed scan of the shiny side of a negative is unlikely to be the triumphant family archive project you had in mind.
Handle the original without giving it a new history
Wash and dry your hands before handling an ordinary photograph, hold it by the edges where possible and work on a clean surface. Do not scrub the image, apply household cleaner or attempt a home repair with sticky tape. If the photograph is cracked, flaking, stuck to glass or valuable, ask a photograph conservator for advice before scanning it.
Clean the scanner glass with a lint-free cloth before the photograph goes near it. Apply any suitable glass cleaner to the cloth rather than spraying the scanner. The Canadian Heritage Information Network gives the same advice for flatbed scanning because liquid and scanner edges are not natural friends.
Place the photograph flat without forcing it. The Library of Congress advises against putting extra glass or Plexiglas on collection material to flatten it for capture. If the photograph will not lie safely on the scanner bed, photograph it carefully instead.
Useful scan settings for an old photograph
Scan in colour even when the photograph appears black and white. Old monochrome prints often contain warm paper tones, cool silvering or subtle staining that a strict black-and-white mode may discard. You can decide what to neutralise later, once the scan is safely saved.
For a small photographic print, 600ppi is a sensible high-quality starting point if your scanner supports a true optical scan at that setting. The National Archives uses a minimum of 600 PPI for photographs in its digitisation guidance and Canadian Heritage says high-quality photographic prints may be scanned as high as 600ppi. More is not automatically better if the print itself contains no finer detail.
Scan the whole photograph with a narrow border around it. That gives you room to straighten the image and keeps handwritten edges or the original white border available. Check the preview for dust, focus and clipped highlights before scanning the rest of the biscuit tin.
Keep one untouched master file
Save the first good scan before editing it. An uncompressed TIFF is useful as a high-quality archive master, while a good-quality JPG or PNG is convenient for ordering. ArtFart accepts JPG, PNG and standard TIFF files up to 25MB and 80 million pixels. A JPG or PNG supports the complete on-screen crop preview.
Give the file a meaningful name and keep a backup somewhere other than the computer attached to the scanner. Include a date, place or names if you know them, but avoid putting private information in the filename you plan to upload. The people in the photograph may know who everyone is now. Future generations will otherwise identify them as Left, Middle and Moustache.
Keep the master scan unchanged and make a separate working copy for dust removal, colour correction and cropping. If an edit turns out to be enthusiastic rather than helpful, you can return to the real starting point.
Can you use a phone instead of a scanner?
Yes, particularly when a photograph is fixed inside an album, too large for the scanner or too fragile to press against the glass. A flatbed scanner is usually easier for a loose, flat print because it keeps the image square and evenly lit.
For a phone photograph, use soft even light and switch off the flash. Keep the camera parallel to the print, leave a border on all four sides and use the camera grid or level to help. Watch for reflections from glossy paper and move the lights or the whole setup until the glare disappears.
Use the normal camera rather than digital zoom and take several versions. Check facial detail and the corners at full size before choosing the best file. A clever automatic document mode can help straighten the picture, but keep the uncropped camera original as well.
Restore the photograph or preserve its age?
Straightening, careful dust removal and a gentle correction to colour or contrast can make an old photograph easier to enjoy. Work slowly at a useful zoom and compare the edited copy with the scan. A small crease may be damage. It may also be the line separating a sleeve from the background.
Be cautious with automatic face restoration and strong AI enhancement. These tools can invent eyelashes, teeth, hair and expressions that look plausible but were not recorded in the photograph. If family resemblance matters, compare every face closely and keep the unaltered scan beside the edited version.
Age is not always a defect. Grain, faded colour and a little surface wear can be part of what makes the photograph feel real. The objective is a print of your family photograph, not a newly generated cast pretending they went on the same holiday.
How large can an old scanned photograph be printed?
The answer depends on the scan’s pixel dimensions, the crop and the detail in the original print. A 6 × 4 inch photograph scanned at 600ppi produces roughly 3600 × 2400 pixels before cropping. On paper that is enough pixel information for about 12 × 8 inches at 300ppi, but the visible quality can still be limited by focus, grain and the original printing process.
Upload the best file and choose your intended ArtFart size. We check usable resolution after the crop: at least 240ppi is labelled Excellent, 150 to 239ppi is Looking good and lower results prompt a smaller-size recommendation. The number is guidance rather than a promise that every old photograph contains the same amount of real detail.
If the selected size falls below the recommended resolution, an eligible RGB JPG or PNG may be offered the ArtFart 2× upscaler. Compare faces, lettering and fine edges before choosing the enlarged version. Extra pixels can help with printing, but they cannot interview the past and ask what the camera missed.
Choose the crop and paper finish
Old photographs rarely arrive in modern A-size or square proportions. Check every person and handwritten border in the crop preview. If the original composition cannot spare an edge, choose the closest compatible format or ask us before ordering rather than quietly removing a relative.
Semi Gloss is a natural choice for photographs, with a smooth surface and slight sheen. Ultrasmooth gives a matt finish with minimal shine, which can suit softer portraits and display positions near windows. Satin Canvas adds a subtle texture and is supplied unstretched. Texture is a creative choice, not a repair for missing detail.
ArtFart supplies the print without a frame or mount. If the print is intended as a gift, allow for our 3–5 business day dispatch aim, delivery time and any framing you arrange separately.
A quick word about rights and privacy
An old photograph is not automatically free of copyright. You should own the necessary rights or have permission to reproduce it. A family snapshot taken by you is straightforward. A studio portrait, newspaper image or photograph bought from an archive may have different terms even when the people and trousers are historic.
Consider the privacy of living people before turning a personal photograph into a gift or sharing the file. ArtFart uses your upload to fulfil the order and does not publish it to The ArtFart Wall without permission. Uploaded artwork is handled under our published privacy policy.
The old-photo-to-new-print checklist
Find the best source, handle it carefully and scan a photographic print in colour at around 600ppi where practical. Capture the full edge, inspect the scan and save an untouched master. Make edits on a copy and check faces after any automatic restoration.
Export a high-quality JPG or PNG for the complete ArtFart preview, then review the suggested size, crop and finish. Keep important details away from the edges and remember that a smaller faithful print beats a larger collection of newly invented relatives.
Ready to make it real?
Upload your image and find the size and finish that work for it.
Upload Your ArtAsk the ArtFart teamA bit more know-how.
All guides →
Should I upscale my AI image before printing?
Learn when an AI image needs upscaling for print, what ArtFart’s 2× tool changes and which details to check before choosing the enlarged file.
Read the guide →
How to photograph or scan a child’s drawing for printing
Turn a child’s drawing, painting or collage into a clean printable file using a phone or scanner, without losing the wonky charm that made it special.
Read the guide →