

GIFT KNOW-HOW
How to photograph or scan a child’s drawing for printing
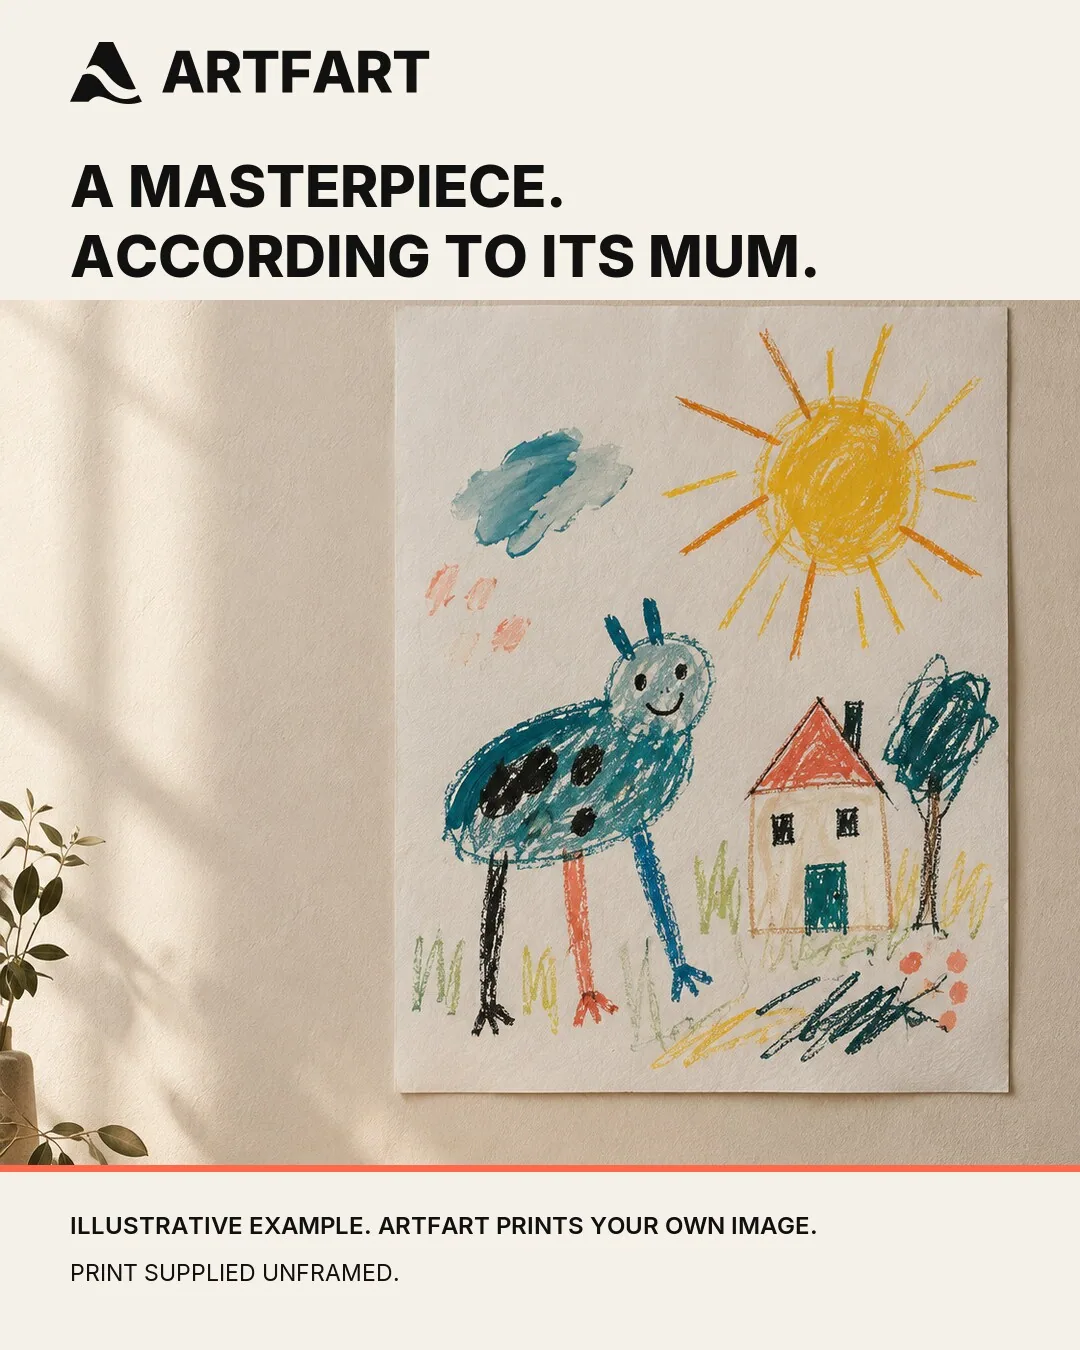
Turn a child’s drawing, painting or collage into a clean printable file using a phone or scanner, without losing the wonky charm that made it special.
By the ArtFart team · Published · 6 min read
THE SHORT VERSION
Use a flatbed scanner for small, flat artwork where practical. For larger or textured pieces, photograph the work square-on in soft, even light. Keep the original file, make only gentle corrections and let the available resolution guide the print size.
Scanner or phone: which should you use?
A flatbed scanner is usually the simplest choice for a drawing on ordinary paper that fits safely on the glass. It keeps the camera square to the page and gives you even detail from edge to edge. A phone is often better for large paintings, textured work, collage or anything that should not be pressed flat.
If the original is fragile, valuable or made with loose materials such as charcoal, pastel or glitter, do not squash it under a scanner lid. Photograph it carefully or ask someone experienced in artwork photography. The aim is to make a printable copy, not create a small conservation incident in the kitchen.
Prepare the artwork before you capture it
Remove loose dust from the scanner glass or the surface around the artwork. Do not rub, spray or flatten the original if that could disturb the medium. The Canadian Heritage Information Network advises cleaning the scanner platen with a lint-free cloth and applying suitable cleaner to the cloth rather than directly to the glass.
Place flat artwork away from the extreme edge of the scanner bed and leave a small border around it in the scan. Capturing the full edge gives you room to straighten and crop later. It is much easier to remove a strip of background than to persuade a missing corner to return.
If a child’s full name, school or another personal detail appears on the page, decide whether it should remain in the finished print. Crop or edit private information before uploading if it is not part of the artwork you want displayed.
Useful scanner settings without the technical fog
Scan in colour even if the drawing appears mostly black and white. Paper tone, pencil marks and paint often contain subtle colour that a strict black-and-white mode can discard. For a small original that may be enlarged, 600ppi is a sensible high-resolution starting point if your scanner supports it. The Canadian Heritage Information Network uses 600ppi in its detailed guidance for scanning reflective originals.
Save a master scan before you edit. TIFF can preserve a high-quality working copy, while a good-quality JPG or PNG is convenient for ordering. ArtFart accepts JPG, PNG and standard TIFF files up to 25MB and 80 million pixels. A JPG or PNG gives you the complete on-screen crop preview, so export one of those from your master when needed.
Preview the scan at full size and check the corners, focus, paper texture and any tiny marks that matter. If you see dust from the glass, clean it and scan again. Ten seconds now can save a surprisingly long relationship with the clone tool.
How to photograph the artwork with your phone
Place the artwork on a flat, neutral surface near a large window or in another area with soft, even light. Avoid direct sunlight, a single harsh lamp and the phone flash. Those can create glare, shadows or a bright patch that was not in the original masterpiece.
Hold the phone directly above the centre of the artwork with the camera parallel to the page. Leave a visible border on every side. Apple’s current iPhone guidance recommends the camera Grid and Level tools to help straighten a shot. Similar grid and level features are available on many other phones. Use the normal camera view rather than digital zoom and move the phone physically until the page fills most of the frame.
Tap the artwork to set focus and check that the image is not too bright or too dark. Take several photographs, then zoom in and compare them. Choose the sharpest version with the most even light. A second attempt costs nothing and is usually less awkward than explaining why the family dog is crisp but the drawing is not.
Straighten and tidy, but keep the artwork itself
Use perspective or keystone correction if the page looks wider at one end. Straighten the edges first, then crop away the table or background while leaving all intentional marks inside the frame. Do not crop so tightly that pencil strokes touching the edge disappear.
Adjust exposure, white balance and contrast gently while comparing the file with the original in neutral light. The goal is a faithful printable version, not a spotless reinvention. Over-whitening the paper can erase pale crayons and light pencil work. Heavy sharpening can turn soft marks into crunchy outlines that the artist definitely did not request.
Keep the untouched scan or photograph as well as the edited version. If an adjustment goes wrong, you can return to the real starting point rather than editing an edit of an edit.
Let the captured file guide the print size
A small drawing can become a larger print, but the result depends on the detail captured by the scanner or camera. ArtFart checks the available resolution after cropping and recommends suitable print sizes. Upscaling can help increase pixel dimensions, but it cannot guarantee detail that was never captured.
Choose square, portrait or landscape to suit the artwork. Check the crop carefully around signatures, hands, sunbeams and anything else that wanders towards the edge. If you intend to frame the print, remember that a mount or frame lip can cover a little of the sheet.
For drawings and illustrations, smooth matt Ultrasmooth paper keeps the surface visually quiet. Semi Gloss adds a slight sheen and can suit bold colour. Satin Canvas adds a fine texture, although it is supplied unstretched. These are choices rather than rules. The small artist may have views and history suggests they will be expressed clearly.
The quick artwork-to-print checklist
Choose a scanner for flat work or a phone for larger and textured pieces. Capture the whole page square-on, use even light, check focus and keep the original file. Straighten and correct colour gently, then export a high-quality JPG or PNG for the full ArtFart preview.
Review the recommended size and every edge of the crop before adding the print to your basket. Allow for our 3–5 business day dispatch aim, delivery time and any framing you plan to arrange. You now have a proper gift rather than another photograph waiting patiently behind 842 screenshots.
Ready to make it real?
Upload your image and find the size and finish that work for it.
Upload Your ArtAsk the ArtFart teamA bit more know-how.
All guides →
How to scan old photos for printing
Turn an old family photograph into a printable file with sensible scanning, gentle editing and a print size that respects the detail in the original.
Read the guide →
Should I upscale my AI image before printing?
Learn when an AI image needs upscaling for print, what ArtFart’s 2× tool changes and which details to check before choosing the enlarged file.
Read the guide →