

IMAGE KNOW-HOW
How to crop photos and AI art for printing
Square, portrait or landscape? Choose a print shape, keep the important details and check your crop before it becomes permanent.
By the ArtFart team · Published · 5 min read
THE SHORT VERSION
Choose the shape first, position the crop around what matters and check it again at your final print size. Zooming in removes image detail as well as unwanted edges.
Why does my image get cropped when I choose a print size?
Your image has a shape before it has a print size. The relationship between its width and height is its aspect ratio. A square has equal sides. A wide landscape and a tall portrait have different proportions, even when they show the same subject.
If the image and print have different proportions, filling the chosen print means leaving some of the image outside the crop. Enlarging everything does not solve that mismatch. Stretching the picture would change the shapes of faces, buildings and anything else in it. Nobody ordered the long-headed family portrait.
ArtFart shows the area that will be printed in the crop preview. Treat that preview as a decision to make, rather than a box to click past.
Square, portrait or landscape: choose a shape that suits the picture
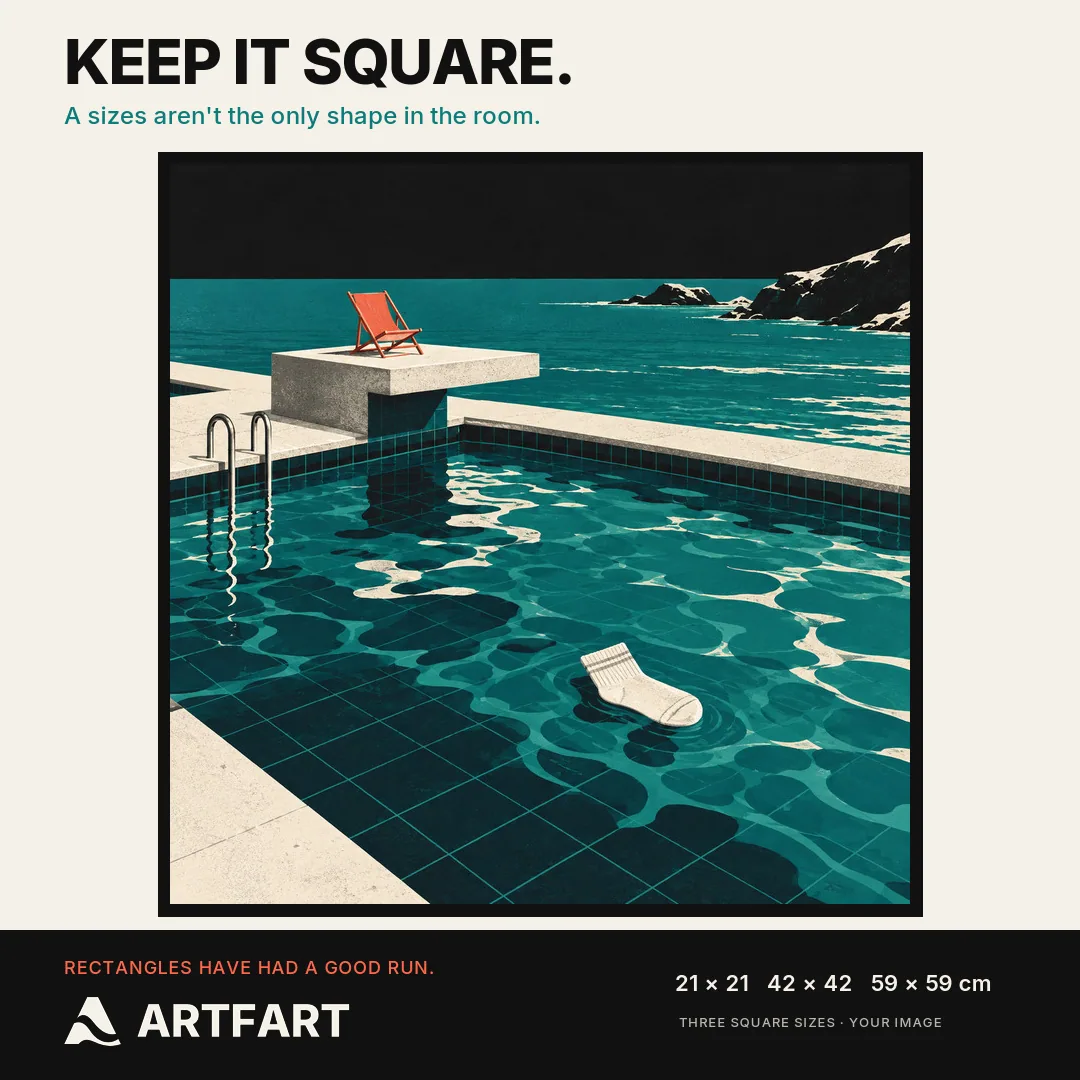
Square prints can work well for a central subject, a symmetrical composition or an image created square in the first place. Our square sizes are 21 × 21cm, 42 × 42cm and 59 × 59cm. Each has the same proportions, so changing between them changes the scale rather than the shape.
Our A4, A3, A2 and A1 prints can be selected in portrait or landscape. Their proportions are approximately the same across the range. A wide view often gives you more room in landscape. A standing figure or tall building may fit more comfortably in portrait. The subject gets a vote.
A photograph or AI image does not automatically match an A-size sheet. Begin with the shape that keeps the important parts of your composition, then select a size for the available detail and the space where it will hang.
Check the edges before you admire the middle
For a portrait, look at the top of the head, hands and shoulders. For a group photo, check the people at both ends. With landscapes, watch for a building, tree or boat cut awkwardly by the edge. AI artwork needs the same care, especially if it contains lettering or a border.
Use the horizontal and vertical position controls to move the crop towards what matters. Keep zoom low while you find the composition. Then use it deliberately if you want a closer view. Moving the crop can save a detail that simply enlarging the image would remove.
Leave important text and faces a little breathing room. If you plan to use a frame with a mount, remember that its window or inner edge can cover part of the print. Check the actual frame opening before deciding exactly where an important detail should sit.
A simple example: turning a landscape photo into a square
Imagine a landscape image that is 4,000 pixels wide and 3,000 pixels high. The largest square crop uses 3,000 × 3,000 pixels. That leaves a total of 1,000 pixels of width outside the square. A centred crop loses 500 from each side, but you can move it to keep more of one side.
If a person stands near the left edge, move the square towards them and inspect what disappears on the right. If both edges contain something essential, a square may be the wrong choice. A different shape is usually a better solution than sacrificing the reason you liked the picture.
This is an example to explain the crop, not a promise that every 3,000-pixel image will look sharp at every size. The original focus, compression and detail still matter.
Cropping changes how much detail is left for the print
A tighter crop uses fewer of the original pixels. Those remaining pixels then have to cover your selected print size. That is why zooming in can change the size recommendation even when the original upload has not changed.
ArtFart checks the estimated source resolution after cropping at your chosen size. It currently labels 240 pixels per inch or above as Excellent and 150–239 as Looking good. Below 150, it recommends a smaller print and asks you to acknowledge the warning unless an approved enlargement provides sufficient resolution.
These are resolution estimates, not guarantees of sharpness. A blurred photograph can have plenty of pixels. Inspect the original as well as the crop and take any warning seriously.
Your final crop check, before checkout
Once you have chosen the final size, return to the preview and inspect all four edges. Check faces, lettering and the focal point. Review the image quality message and confirm that the selected shape and orientation are the ones you want.
ArtFart supplies prints without frames and canvas without stretching, so plan any framing separately. If you cannot make the image fit without losing something important, pause and email info@artfart.co.uk before ordering. A quick question is much easier than asking a print to grow its edges back.
Ready to make it real?
Upload your image and find the size and finish that work for it.
Upload Your ArtAsk the ArtFart teamA bit more know-how.
All guides →
How to scan old photos for printing
Turn an old family photograph into a printable file with sensible scanning, gentle editing and a print size that respects the detail in the original.
Read the guide →
Should I upscale my AI image before printing?
Learn when an AI image needs upscaling for print, what ArtFart’s 2× tool changes and which details to check before choosing the enlarged file.
Read the guide →